Happy March, friends! I hope your week is off to a bangin’ start. I’ve recently had a lot of questions about how I edit my Instagram and Blog photos, so I thought I’d give you all a quick rundown of my process and why the way you edit your images matters.
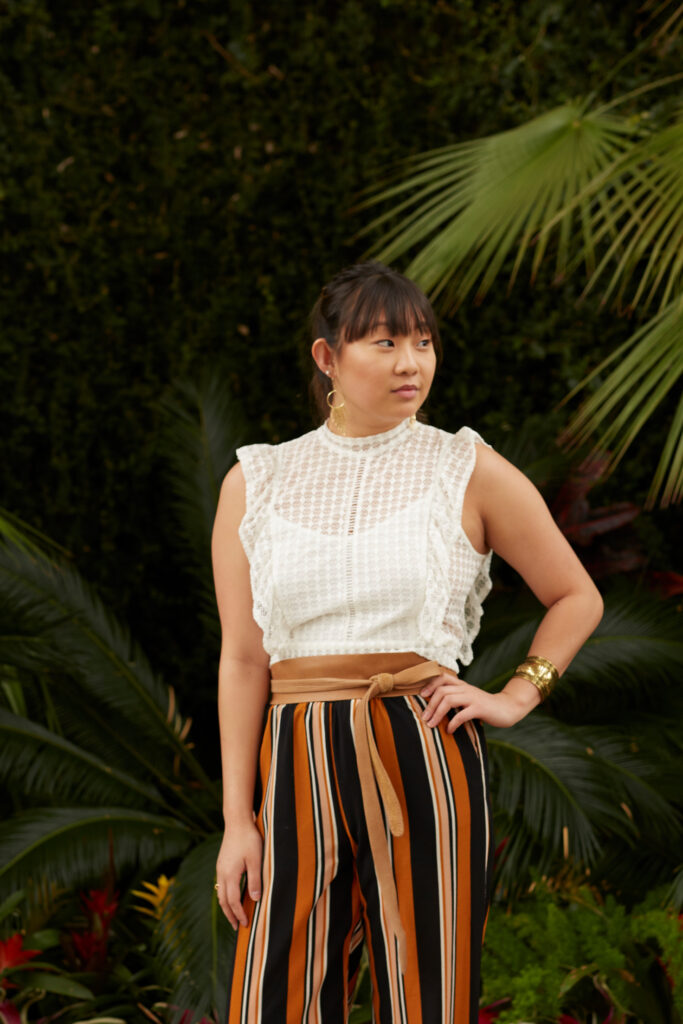
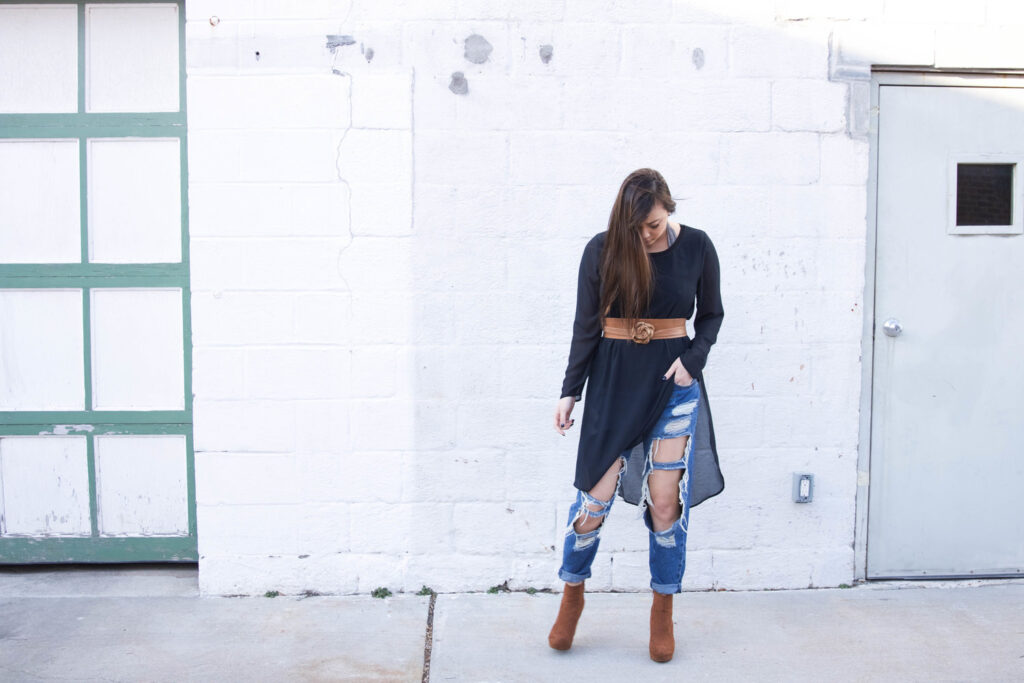
Before I jump into my editing process, I want to tell you guys about a fun giveaway I’m hosting in collaboration with Ada Collection! If you follow me on the ‘gram you already know that this is my all-time favorite accessory and I love pairing these belts with dresses, long shirts, and fancy pants! In my opinion, this belt is one of the most flattering accessories, which is why I quite literally own 6 wrap belts of my own.
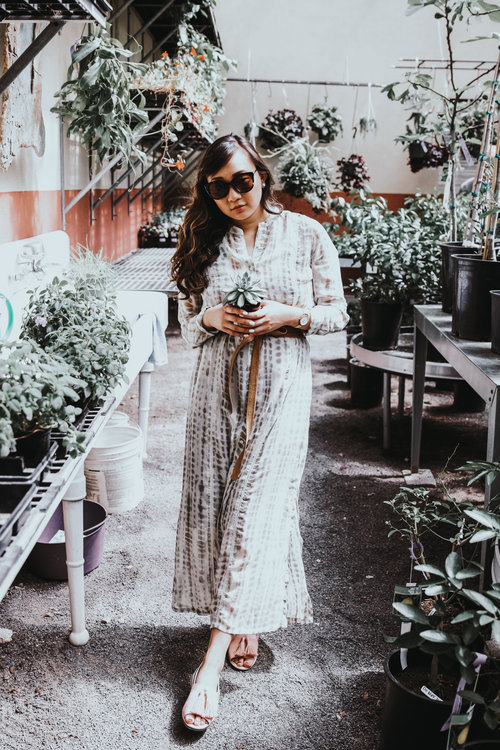
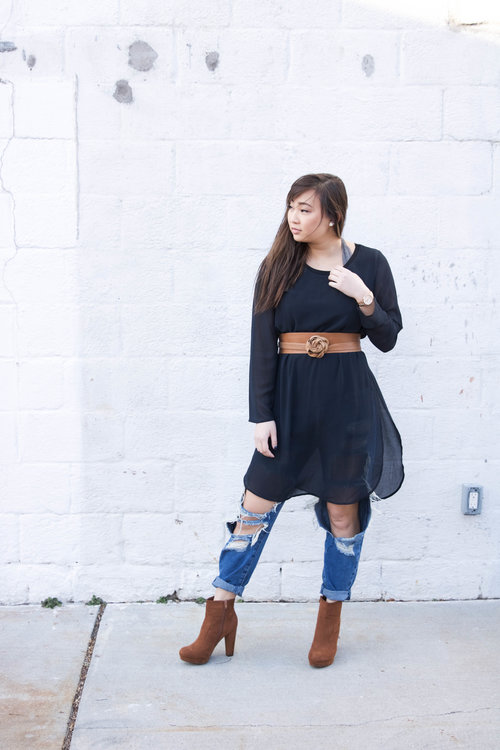
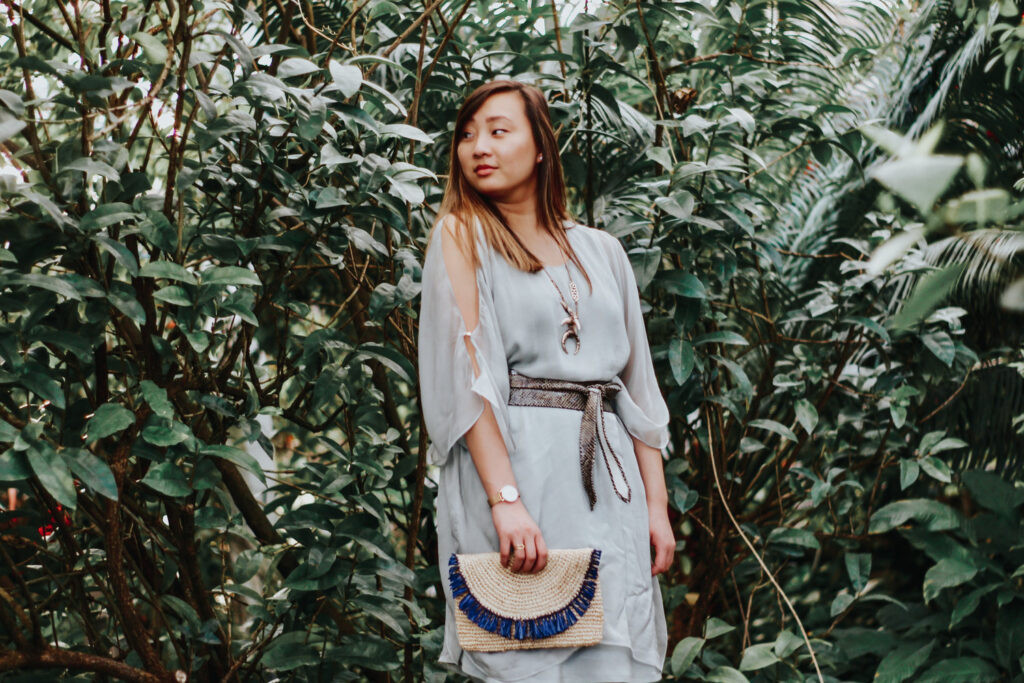
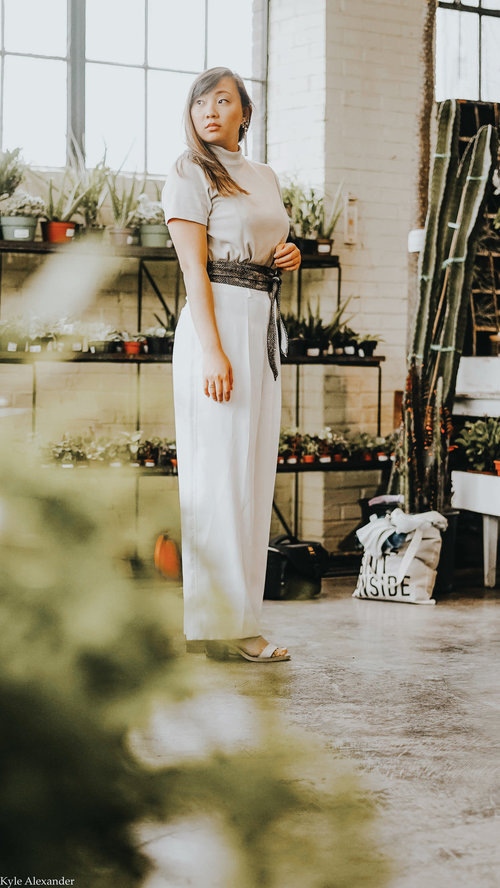
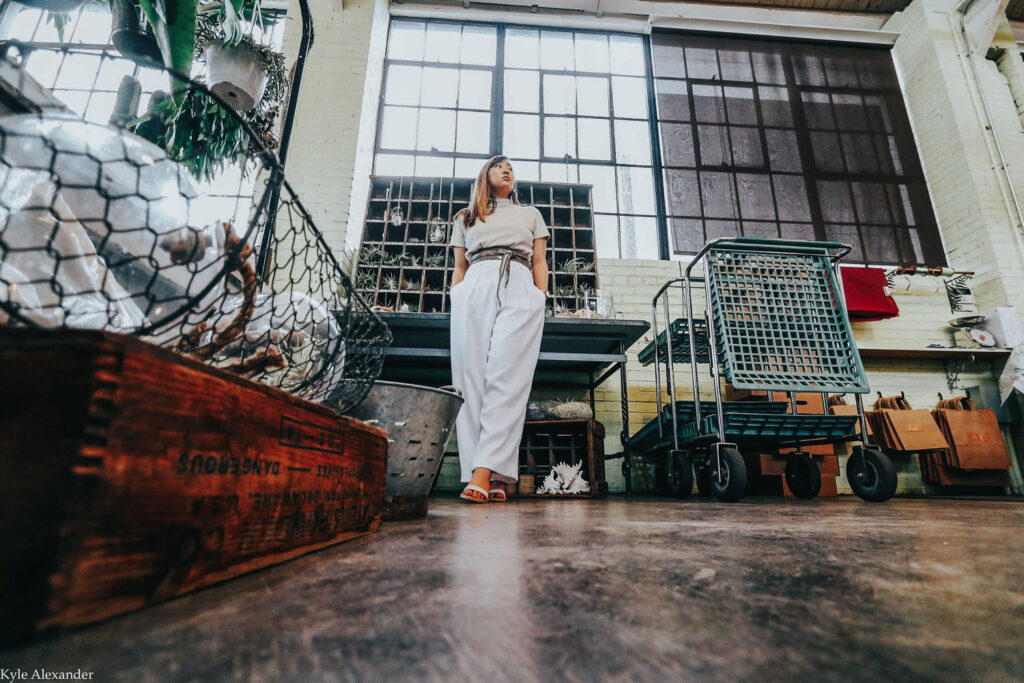
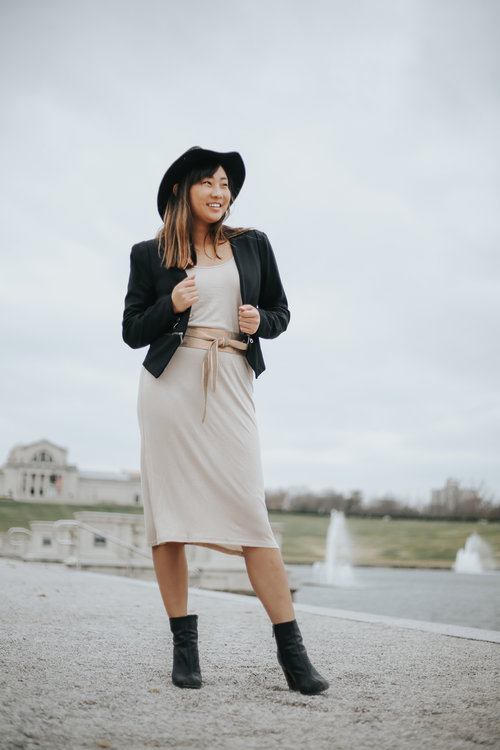
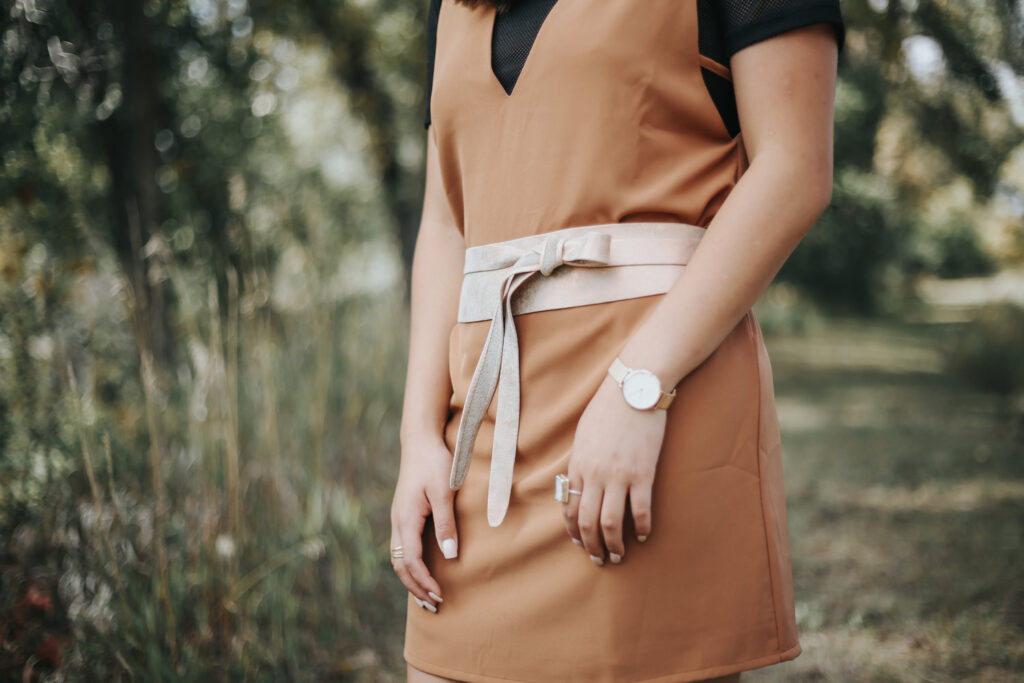
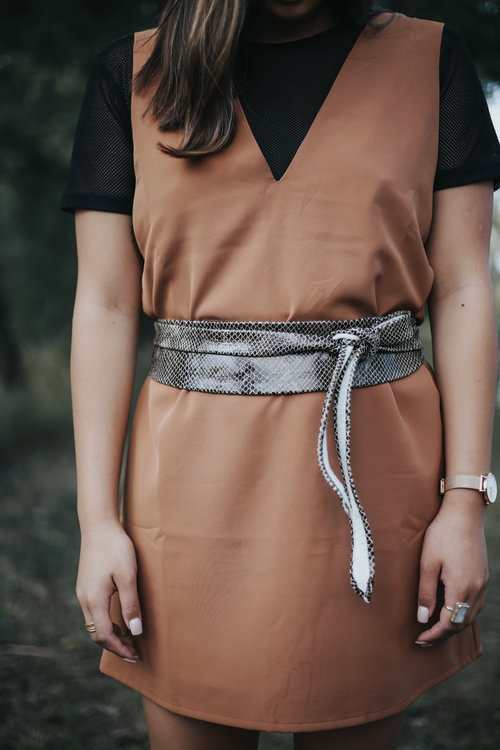
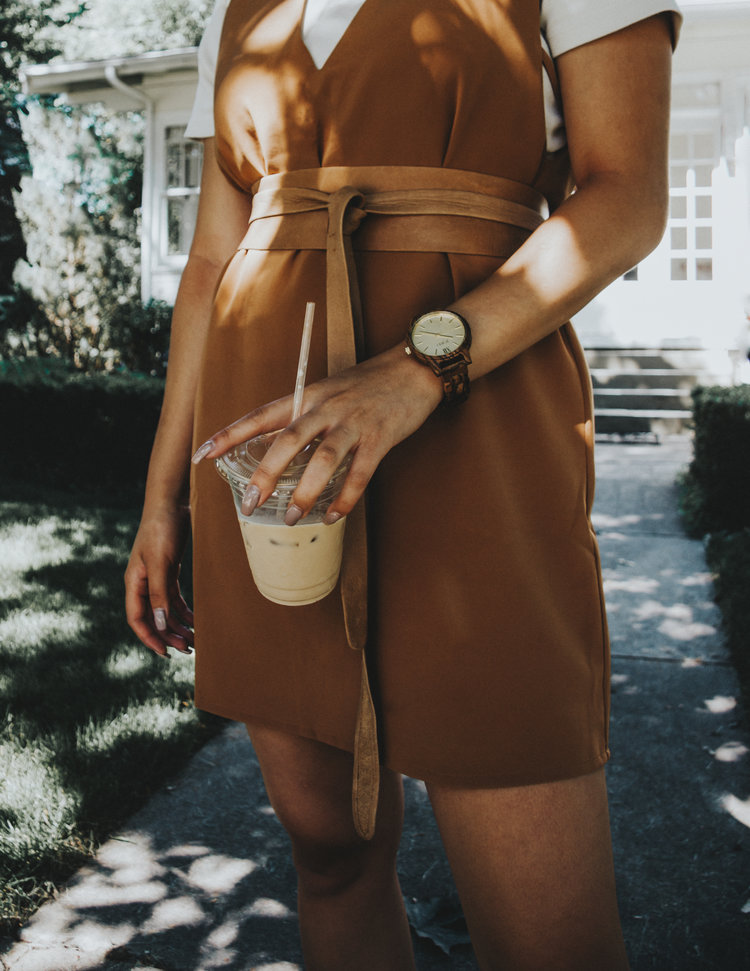
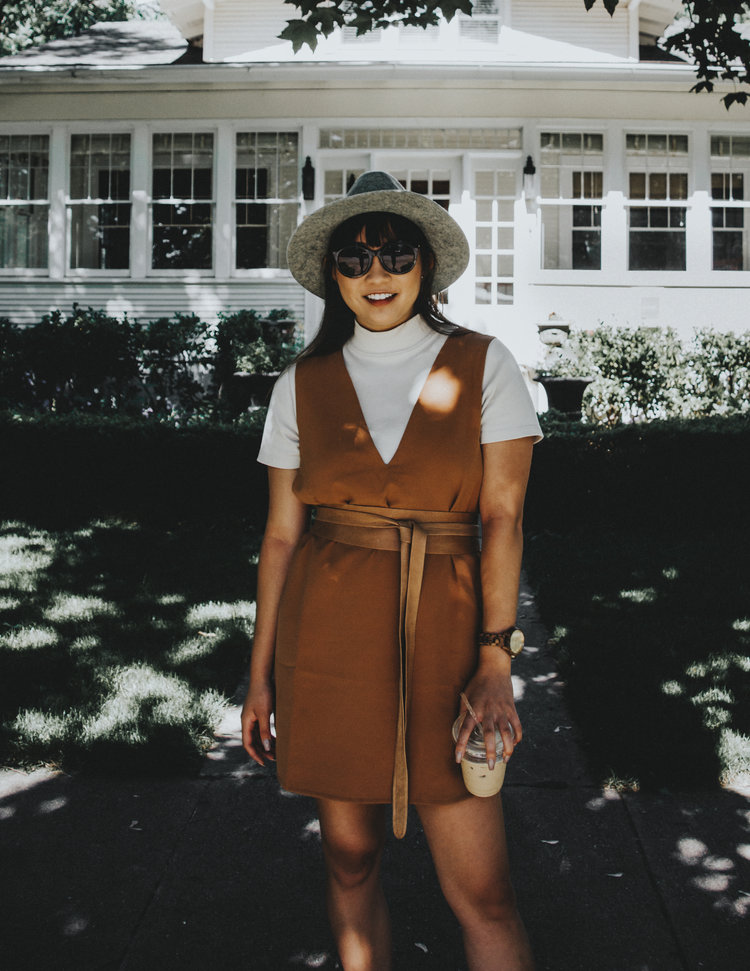
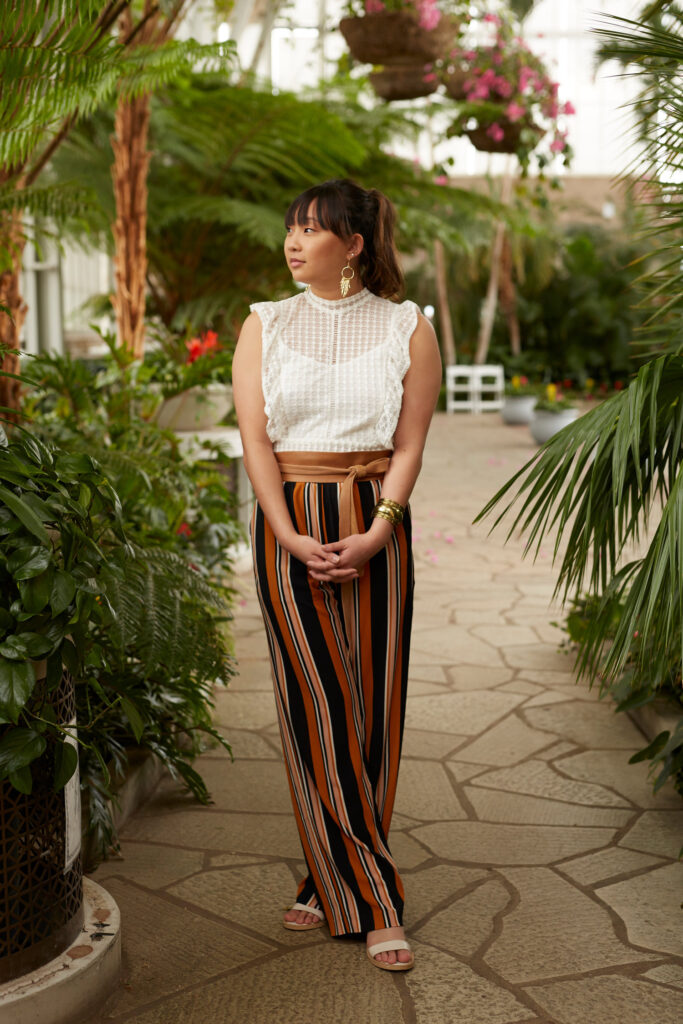
My favorite (obviously) is the Wrap Belt, because it comes in so many different colors and styles, and there are so many new ways to style and tie it. Ada Collection and I are teaming up to bring you all the chance to win a wrap belt of your very own (valued at $114) as well as a $200 gift card to shop other styles too!
Entering is easy, all you have to do is click HERE…enter your name and email and that’s it! Ada Collection will email the winner on Saturday, March 24th! The contest will end on Friday, March 23rd. And gentlemen – these belts make great gifts! So feel free to enter for a sister, girlfriend, wife, or friend if you would like! 🙂
When I got my first wrap belt, I was pretty confused on how to tie it – but don’t fear! Ada Collection has numerous tutorials that show step by step all of the different ways you can style your belt depending on how you feel that day!
Alright, now let’s jump into editing:
WHY DOES EDITING MATTER?
As a photographer, I do try to get most of my editing done in-camera. This means less post-production work for me, and it also means that I’m teaching myself how to work better with light during shoots.
If you’re a blogger, editing can make your feed look cohesive. This directly helps with your branding. You don’t want three pictures to have incredibly warm hues, the next two images to be faded, and the next four to be over saturated and over contrasted. You definitely want your brand images to be cohesive with one another so that your viewers can differentiate your brand from others. When your followers are scrolling through their feed, you want them to be able to recognize your image and then associate that image with the brand you’ve built.
MANUAL SETTINGS
When I first started taking pictures 4 years ago, I didn’t shoot on manual settings. I mainly just used Creative Auto and went from there. A year ago, I watched a 7 minute video tutorial on how to adjust manual settings and what each setting did…and that’s basically how I learned how to shoot on manual. It’s actually really important to learn how to shoot on manual settings, because those settings can make your editing process much quicker if you know what lighting you’re looking to create. Here’s the settings pretty briefly:
ISO: This is in-camera, artificial light. The higher the ISO number, the lighter your image will be…but the more noise/grain the image will have (lower quality).
F Stop: This is your aperture. The lower the number, the more blurred out the background will be (aperture is more open). The higher the number, the less blurred out the background will be. Two things to note:
1. The higher the number, the darker your image will also be
2. If you keep lower the F Stop too much, you have to be careful about which part of the image is in focus. Sometimes you might need to manually focus, or raise the F Stop to make sure you’re not blurring out important parts of the image.
Shutter Speed: This is how much light you let in. You will want a quicker shutter speed if the object you are shooting is in motion (if you want it in focus). I like to keep my shutter speed around 150-600, depending on the lighting. The quicker the shutter speed, the darker your image will be. The slower the shutter speed, the more time the camera has to let light and thus – the lighter the image will be.
White Balance: This is the way lighting is set up depending on your setting. If things are looking too warm, I’ll switch it to Tungsten to bring back a more natural feel. If things are too cold, I’ll switch it to daylight or another warmer setting to add a little more warmth and balance out the colors in a more natural way.
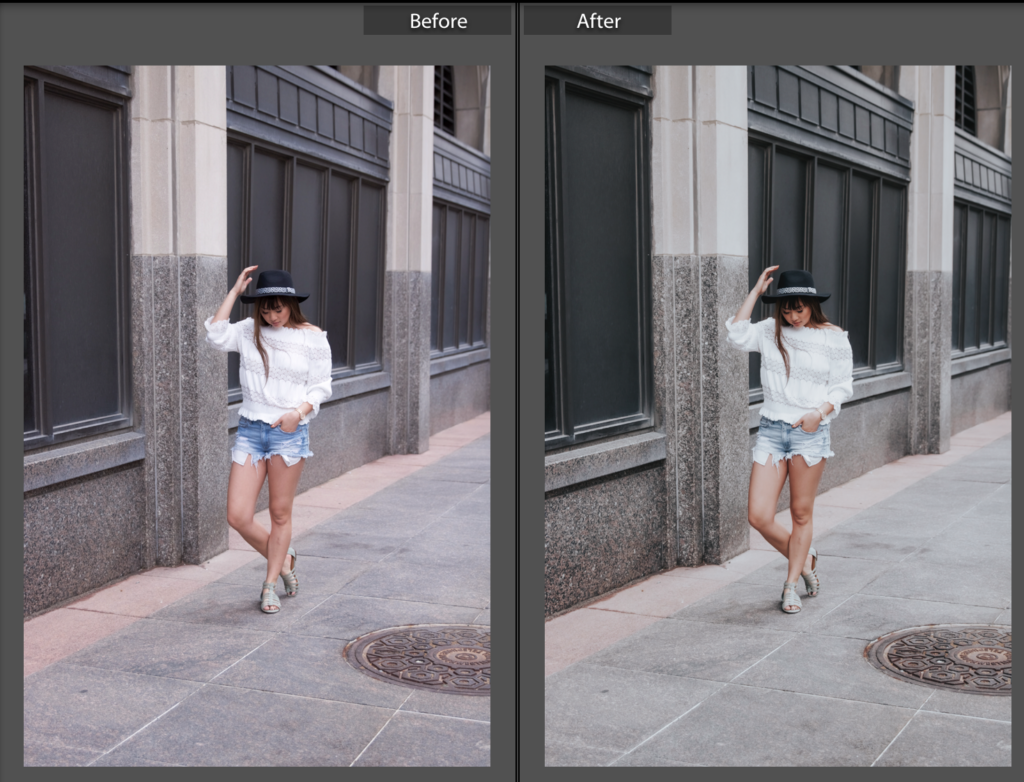
EDITING: LIGHTROOM
The main program that I use to edit my photos is Lightroom by Adobe. I highly recommend the ‘Photography Bundle’ that can be purchased on the Adobe Website. That plan includes Lightroom CC, Lightroom Classic CC, Photoshop CC and 20 GB of cloud storage for just $10 a month. This is the plan that I am currently on, and it really gets the job done for what I need. I don’t really do graphic design work, but if I do something along those lines – I dabble in that with the free Adobe apps on my iPad pro, send it through the cloud to my computer, and then export it at a higher resolution.
When I first started on Lightroom, I had no idea what I was doing. Lightroom has a lot of great and simple features that allows you to get into a fairly quick work flow once you know what each tool does. Theres numerous online tutorials to help aid you as you go along. One of the best ways you can learn, is honestly just by messing around a bit and trying different tools out. As for simple Instagram and Blog editing, I just apply presets that I’ve either acquired over the past couple years or made myself.
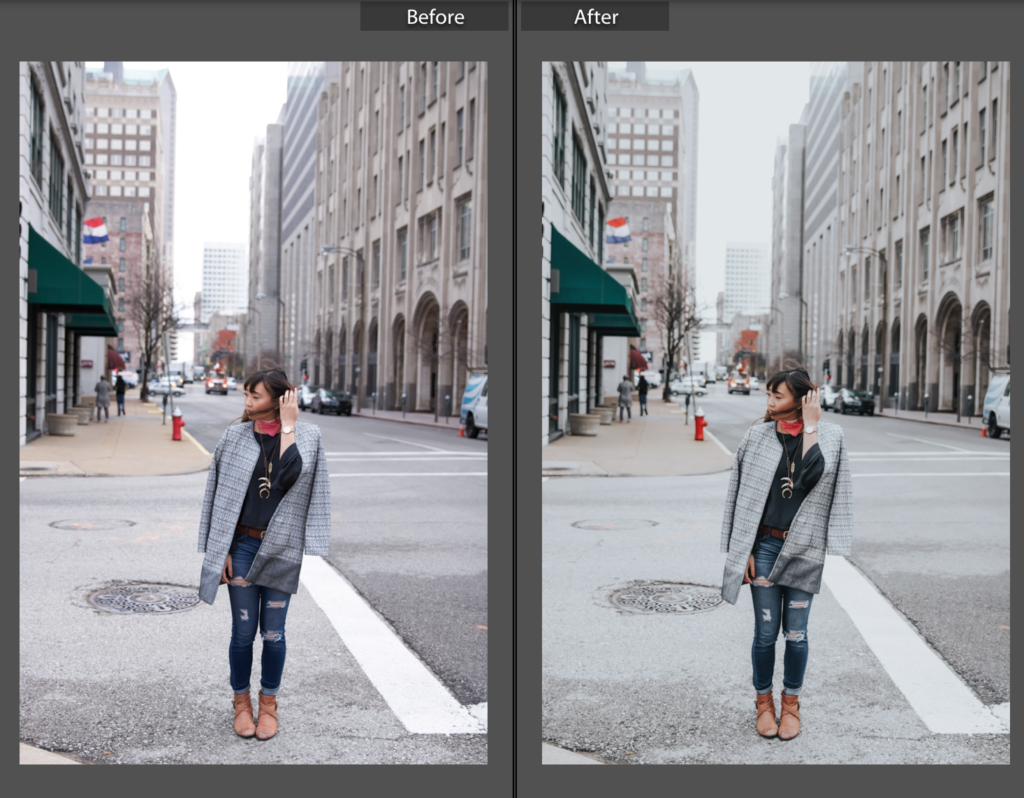
A ton of creatives sell their presets online, or you can even find some for free just by Googling “Lightroom presets.” If the hues aren’t exactly your taste, you can always adjust them after you apply the preset!
Note: I do ask my photographers for raws, and edit my images myself a lot of the time. However, as a photographer myself, I also know how much it sucks when you work hard on an edit and you find that your model has posted your work online with a horrendous filter. That’s not the photographer’s work…and when you post you need to make sure that you are upholding the integrity of the photographer’s work. Either ask if you can edit how you want, or agree to post the photographer’s untouched work. Just something to be mindful of 🙂
EDITING: VSCO
I used to edit a lot with VSCO, especially the Hypebeast filters. I don’t as much since I pretty much only use Lightroom now, but if I need a quick app-edit, I’ll turn to VSCO.
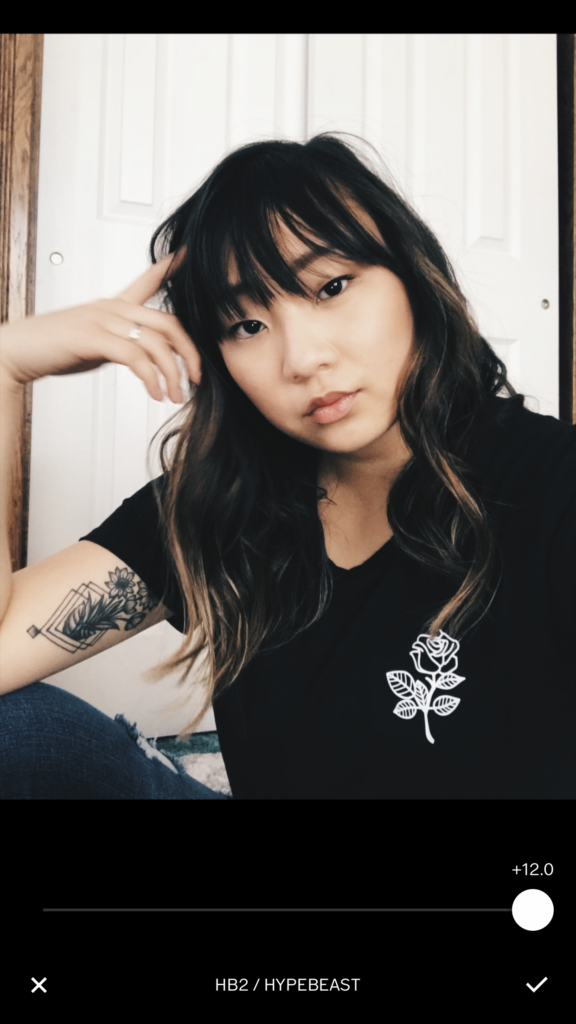
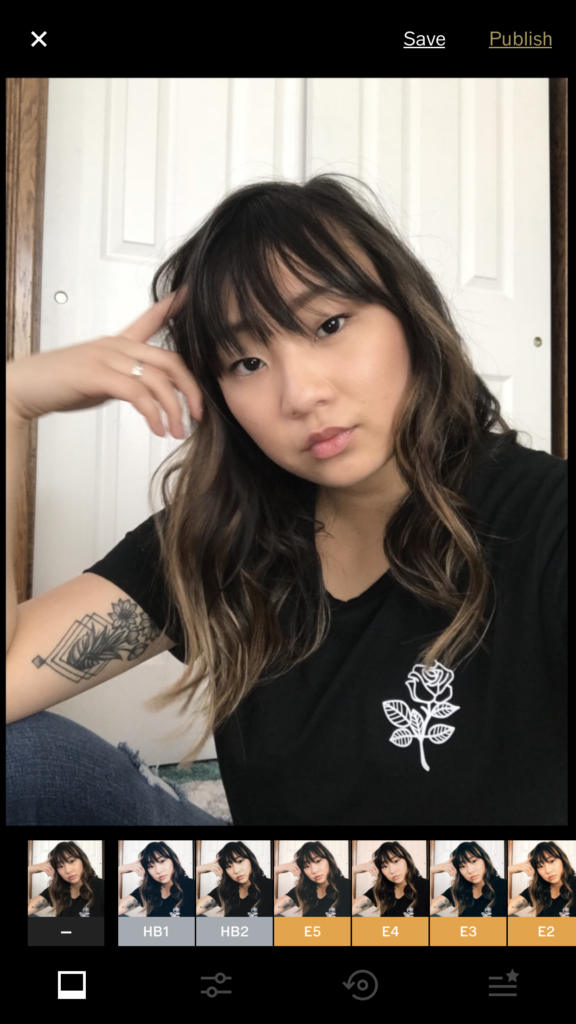
My personal go-to filters for VSCO are HB, C, and E. What I love most about VSCO, is that you can rearrange the order of the filters so that your favorite ones show up at the front of the line, making them more accessible.
That’s a quick rundown on my editing process! I hope you found at least part of it useful! If you have any questions, always feel free to reach out through email or DM. Don’t forget to enter the Ada Collection Giveaway valued at $314!
You can access the Giveaway entry link here: Ada Collection Giveaway.
Good luck and have a great rest of your week!

Share this post: